
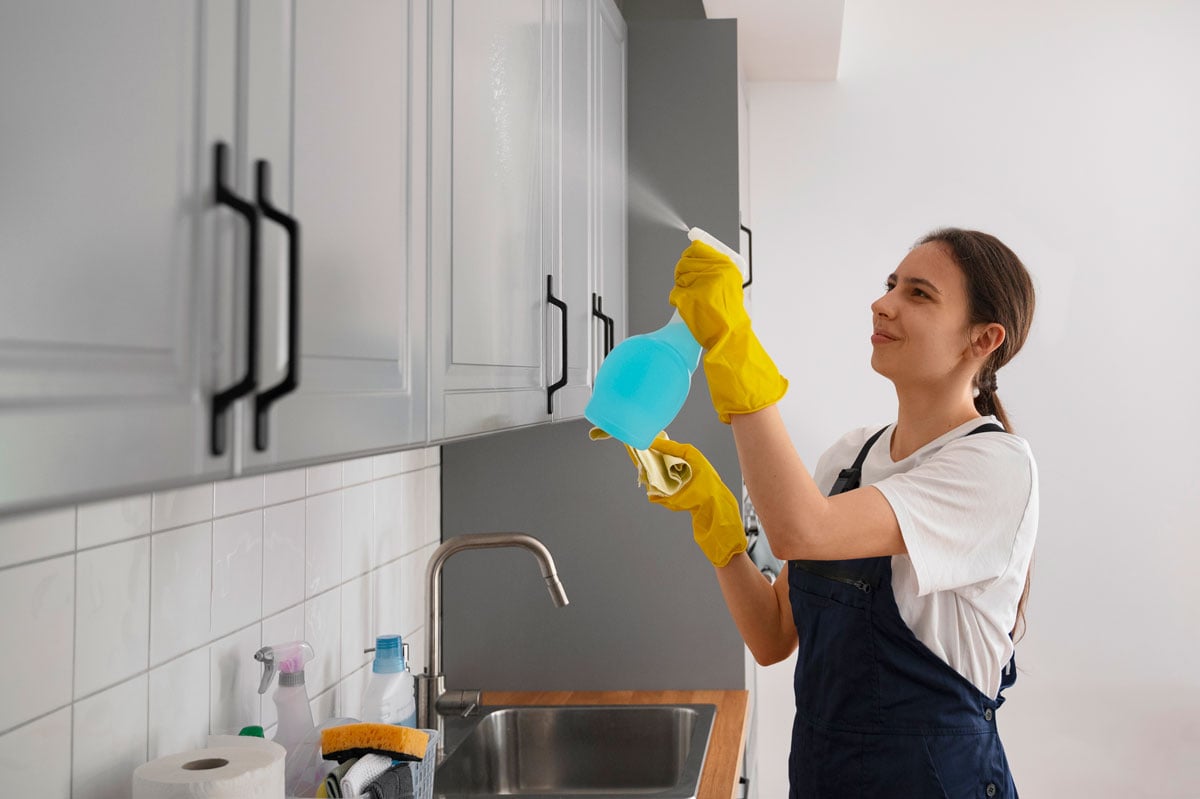
Kitchen cabinets are subjected to a constant barrage of steam, grease, cooking splatters, and dust. While they are built to be durable, using the wrong cleaning solution can strip away the finish, dull the shine, or even cause peeling and warping. As we look toward 2026, the key to maintaining your kitchen’s centerpiece remains the same: knowing your finish and choosing a safe, non-abrasive cleaner.
This guide provides a detailed breakdown of the best solutions and techniques to keep your cabinets pristine without compromising their integrity.
Understanding Different Cabinet Finishes (Wood, Laminate, Painted)
The most important step in choosing a cleaner is identifying the material and finish of your cabinets. What works flawlessly on a durable laminate surface can instantly ruin a high-gloss painted finish.
Why the Right Cleaner Matters for Longevity
| Finish Type | Characteristics | Cleaning Sensitivity | Recommended Base Cleaner |
| Solid Wood & Stained | Natural, porous, often coated with lacquer or polyurethane. | Highly sensitive to standing water and harsh chemicals (like ammonia). Excess moisture causes warping and peeling. | Mild dish soap and water, immediate drying. |
| Laminate & Thermofoil | Durable, non-porous surface over particle board. | Can handle slightly stronger degreasers, but the seams (edges) are highly vulnerable to water penetration. | Diluted vinegar or gentle commercial degreaser. |
| Painted & Lacquered | Requires a perfect pH balance. Prone to dulling and fading. | Highly sensitive to abrasives, pure acid (lemon juice, undiluted vinegar), and high-pH solutions. | pH-neutral soap or specialized cabinet cleaner. |
Using cleaners that are too harsh can wear down the protective topcoat (like polyurethane), exposing the wood or paint beneath and accelerating damage.
Top Recommended Cleaners for Kitchen Cabinets
Your approach to cleaning should be proactive, moving from the mildest solution to commercial degreasers only when necessary for heavy buildup.
Natural Cleaners (Vinegar, Baking Soda, Lemon)
Natural options are often preferred because they are safe for children, pets, and food prep areas, and they don’t leave behind harsh chemical residue.
- The Go-To Solution (Mild Grease): Mix 1 part white vinegar with 1 part warm water. For an extra boost, add 1-2 drops of liquid dish soap (a non-degreaser variety). This solution is excellent for cutting mild grease on laminate and factory-finished wood cabinets. Always avoid spraying or letting the solution sit on raw or unfinished wood.
- The Spot Treatment (Sticky Residue): Create a paste using baking soda and a small amount of water. Apply the paste directly to sticky spots or heavy grime (e.g., handles above the stove). Allow it to sit for 5 minutes, then gently scrub with a soft, non-abrasive sponge. Baking soda is mildly abrasive but gentle enough for most finishes when used as a paste.
- The Polish Booster (Oiled Wood): For cabinets treated with oil finishes, lemon juice mixed with an equal part of a natural oil (like olive oil) can help clean and restore luster simultaneously. Caution: Do not use pure lemon juice, which is highly acidic, on painted or delicate wood surfaces.
Commercial Cleaners (Grease Removal & Shine)
When a natural cleaner simply can’t cut through years of accumulated cooking grease, a specialized commercial product is necessary.
- Biodegradable Degreasers: Look for commercial degreasers that are labeled as biodegradable, which usually means they are less reliant on powerful solvents like ammonia. Always ensure the product is labeled “safe for wood finishes” or “pH-neutral.” A gentle, specialized cabinet cleaner is a worthwhile investment.
- Wood-Specific Cleaners: Products containing small amounts of mineral spirits or wood oils are designed to dissolve old grease while simultaneously conditioning the wood. These are typically available from specialty wood care suppliers.
- Avoid All-Purpose Cleaners: Products like glass cleaners or highly concentrated ammonia-based kitchen sprays are too harsh. While they remove grease, they can also strip the topcoat, making your cabinets look dull and prone to damage.
How to Clean Kitchen Cabinets Without Damaging Them
Technique is often more important than the product you choose. Damage usually occurs from too much moisture or abrasive scrubbing.
Step-by-Step Cleaning Tips
- Preparation and Dusting: Before applying any moisture, gently dust the cabinets, paying special attention to the tops of the cabinets where dust, grease, and hair accumulate. Use a microfiber cloth or the soft brush attachment on your vacuum.
- Application (Mist, Don’t Soak): Never spray cleaner directly onto the cabinet surface. Instead, lightly dampen a clean, soft microfiber cloth with your chosen cleaning solution. The cloth should be damp, not dripping.
- Wipe and Clean: Work in small sections, wiping the surface gently in the direction of the wood grain (if applicable). Pay extra attention to the areas around the knobs and handles, as these harbor the most residue and grime.
- Hardware Care: Use a soft-bristle toothbrush dipped in your solution to clean the crevices of the handles and knobs. For stubborn buildup on metal hardware, a dab of baking soda paste can work wonders.
- The Critical Drying Step: This step cannot be overstated. Immediately after cleaning a section, use a second, completely dry microfiber cloth to wipe the surface dry. This removes any lingering moisture that could damage the finish or penetrate laminate seams, which is essential for longevity.
What to Avoid: Abrasives and Harsh Chemicals
- Abrasive Sponges: Never use steel wool, scouring pads, or the abrasive side of a common kitchen sponge. These will etch the finish, creating micro-scratches that dull the shine and provide crevices for dirt to accumulate.
- Heavy Water Use: Do not use buckets of water or soak your cabinets. Excess water can penetrate the core materials of laminate and painted cabinets, causing irreversible swelling and structural damage.
- Strong Solvents: Avoid pure bleach, ammonia, and paint thinner. These chemicals are designed to dissolve materials, and they will readily dissolve the protective lacquer or paint on your cabinets, especially on cabinet doors near the cooking area.
Maintenance Tips to Keep Cabinets Looking New
Regular, quick maintenance prevents the need for intense deep cleaning and protects your cabinet investment.
- Immediate Spill Cleanup: Wipe up splatters—especially acidic ones like tomato sauce, vinegar, or citrus juice—immediately. Allowing acidic liquids to sit can dissolve the protective coating.
- Use the Range Hood: Always run your kitchen ventilation fan while cooking. This is the single best way to capture airborne grease and steam before they settle on the upper cabinets.
- Weekly Quick Wipe: Keep a slightly damp microfiber cloth dedicated to your kitchen and give the cabinet fronts near the stove and sink a quick wipe once a week. This five-minute routine prevents serious grease buildup.
- Condition Oiled Wood Annually: If you have natural wood cabinets, consider applying a cabinet polish or a wood-specific oil once a year to keep the wood nourished and protected against drying and cracking.
A fully pristine kitchen often requires professional attention to areas you can’t see, like above appliances and inside vents. If you’re tackling your cabinets but need professional assistance for the rest of your home or commercial space, we are here to help.
Contact Pristine Cleaning Birmingham today to schedule a comprehensive, professional kitchen and home cleaning service! Request a free, detailed cleaning estimate